

In a post like this, I always find it tricky to find a balance between providing a sufficiently good idea of the steps taken in building the costume and not losing people to inordinate details. It's tricky because the post attempts to synthesise the incremental steps taken over weeks and months (about two, usually) of hard work. Trying to exercise succinctness is challenging when you have one costume to outline; but this year there is double the workload to squeeze in. With that in mind, I'm going to try to keep text to a minimum on this one (and if I have skimped on anything, I'd be happy to elaborate in the comments if prompted).
The Head
HisThe Head
As outlined in a previous post I began working on the head using a different approach to my conventional methods. I have almost exclusively used wire and papier mache for my costumes' heads in the past. However, this technique doesn't tend to give the smoothest surface; and while this hasn't been an issue for most costumes due to the unevenness of the heads in general, I knew a Lego minfigure costume would be different. The head had to be perfectly smooth.
I won't repeat the details of the post I've linked to above, but suffice
it to say I eventually went back to the method I was more comfortable
after struggling to work with styrofoam. I retained the sytrofoam-based
neck I created, but built a wire frame for the head on top of it. After some convoluted maths trying to calculate the accurate scale of a life-sized minifigure, I was ready to build:


 | ||
| Despite how happy I am with the finished article, I still can't believe how crude it looked in the early stages. |
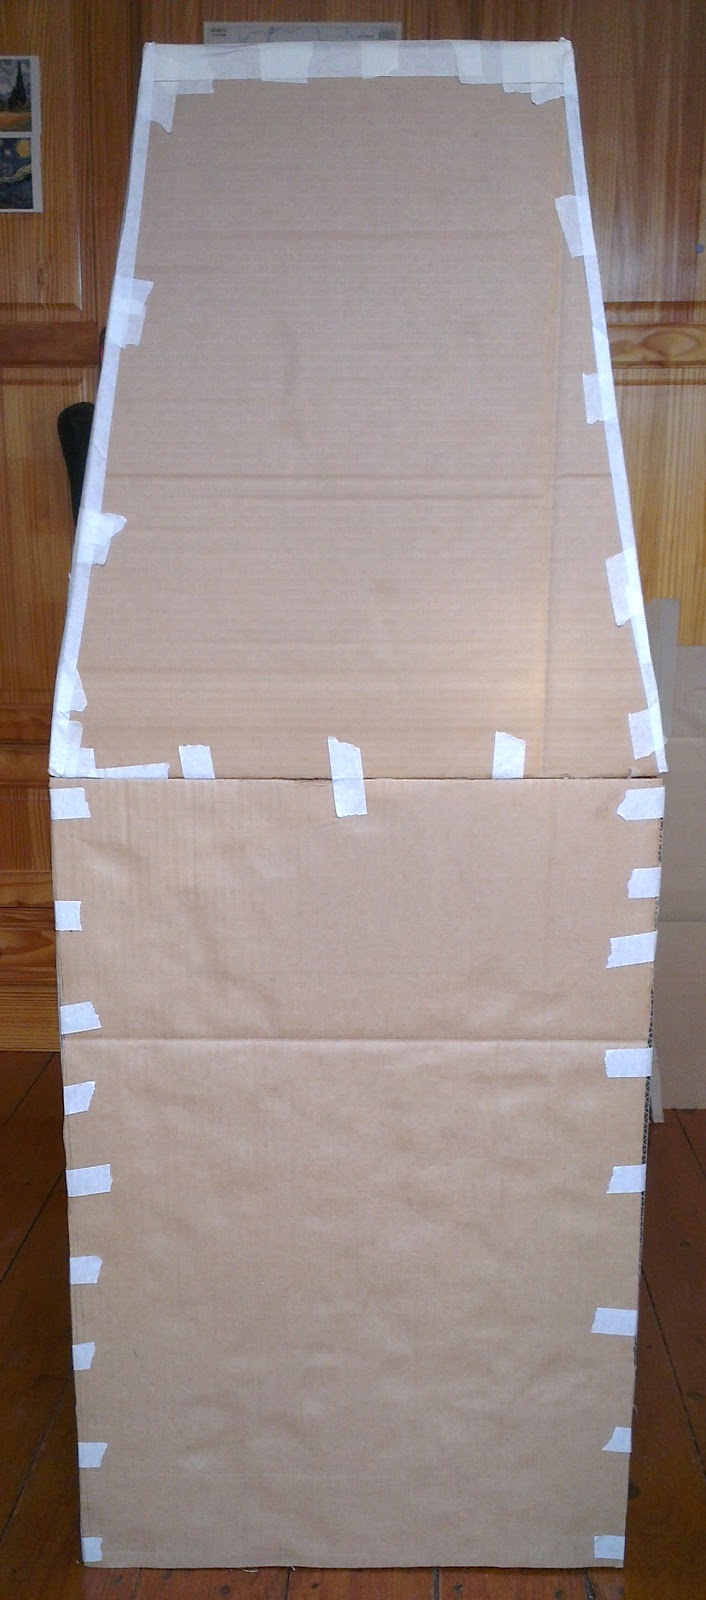
After this I lined the outside with card (the type cereal boxes are made from) to give it a smooth surface, and then primed the bottom half for papier mache by covering it in masking tape.

Then comes the papier mache itself, making it look a bit more substantial:

The idea was to make the lower and upper halves separately, sandwiching a cylindrical middle section between them. With this in mind, I proceeded to do the top half in much the same way:


When I had covered the top half in masking tape, I began working on the stud, electing to bring the styrofoam back in play:


Finally, I had to create the midsection that would fuse the top and bottom halves. I needed light card that could be easily curved around the shape of the head, so I again used cereal box-type cardboard. I measured the diameter of the head and the height it would need to be, and made a flat daisy-string type creation out of the card:

In order to sandwich this between the two halves, I had to stack blu-rays to the appropriate height to rest the top half on...


...which would support it until I could put the strip of card on securely:

I would then apply one further layer of papier mache over the completed whole. I added some support to the inside, applying brown packing tape where the middle met both the top and bottom. This is because I was worried that it would begin to sag under the weight of the top half.
Once the head dried, I had to figure out exactly where I should cut the mouth hole. This was a vital step, as I would be seeing through the mouth. Once I had determined this, I did a crude drawing of the mouth and eyes to make sure I had the proportions correct:

Once I had the mouth cut out, I had to apply yet another layer of papier mache in order to tidy up where the incision. Then, the fun part: drawing the details and painting. Getting the colour right was challenging; we couldn't find the proper colour off the shelf, so had to mix our own. Given that we were making the arms from fabric (more on that later), we had to make sure that the colour between the paint and fabric was consistent. Here is the finished head (ashamedly completed and photographed at about 3:30pm on October 31st):

I left it until the last minute to decide whether or not I'd do the top hat; I decided not to owing to a combination of time constraints and my reticence in obscuring the stud. It is, after all, the quintessential feature of the Lego man.
Hers
Ciara's head was done in the same way, so there isn't too much of a need to repeat similar photographs. Instead, I'll concentrate on the key difference between our heads: the presence of a long maine of hair.
I basically made this in three pieces. The first was the ponytail, which was carved out of a long piece of styrofoam:


The fringe was then made from wire:

And then the two were fused together by wire, comprising the third element:


When it was strong enough, I was able to pick up the hair as one solid piece:

As with the heads, we applied card to create a smooth surface, and primed it for papier mache.

Eventually arriving at:

The Bodies
His
The first part I cut out was the top of the torso, and then drew a hole for my neck:


I then cut out the main shape of the torso:

Then cut out the side pieces, and put them all together (after which I had to cut arm holes, but appear not to have a photo of this step):

Fast forward several weeks (the first part of the costume to be started; the second last to be finished) and I had a body. Again, photographs taken in late afternoon on Halloween day:


Hers
As with the head, the torsos of the Bride and Groom shared the same method of construction. The significant difference between their bodies, however, was the addition of a skirt for the Bride. These were pretty simple cardboard cutouts:


Combined with the torso (views from the front and side):

To rest the torso on the skirt, we made corresponding 'shelves' from cardboard on each piece:

We weren't satisfied by how solid these were, so we applied some reinforcement by screwing L-shaped pieces of cardboard which had the robustness of wood. Ciara wore the costume by attaching a pair of suspenders to the skirt, and resting the torso on it (using velcro to keep it stable):

After layers of papier mache we were able to draw on the very intricate details of the torso and skirt, and finish by painting them:

The Legs
Given that the Bride had a skirt, this step applies only to the Groom. And mercifully; if there was one part of the costume I would chosen to not have to repeat, it would be these guys. While I was delighted with the outcome (though I am my harshest critic, and I think the scale might just have been slightly disproportionate in length to the torso), they were hard work.
I decided that because of their complex shape, I would have to make the construction of the legs modular. As such, here are the blueprints (not a regular feature of my costume - I tend to wing it more than I care to admit - but here I felt it was a necessary step) which were pretty much followed to the letter (click for the original size):

No need to talk through these steps in the presence of those blueprints, but here is how the legs progressed:


Arms & Hands
His & Hers
This is the sole part of the costume that did not contain any discrepancies between the happy couple. The hands were straight forward enough in the end; I cut the side pieces (first image, below) out of strong, rigid cardboard, and cut the curves out of that familiar flexible cereal box card (second image). We each measured a (very) rough diameter of the other's fist, and cut a corresponding hole out of both the front and back pieces. We finished the hands with a layer of papier mache and paint.


The arms were Ciara's baby and I wouldn't embarrass myself or do her an injustice by explaining in detail how she created them. But here are a couple of pictures:


The key feature we wanted to work into the design was padding. If we had just used our own bare arms, the scale would have become completely out of whack. In order to maintain flexibility (while we were figuring this out I suggested making rigid arms out of wire and papier mache, but the suggestion went down like a lead balloon), fabric and stuffing was ultimately used in construction. As the pictures show, wadding was sandwiched between two lengths of fabric. While I don't have a picture of the final couple of steps, this pillow-like formation was wrapped around our arms to calculate where to stitch the seam. When it was stitched, it was turned inside out to hide the seam.
And
that pretty much brings me to the end of the costume-making chronology.
The work took the bones of two months, though there was a
disproportionate amount of work done towards the end. I wish I had taken
a photo of my own costume as it was when I woke up on Halloween morning
(Ciara's was more advanced having done Trojan work on it the previous
day, as she had less time for panic-building on the day itself) so that I
could properly convey the final rush.

No comments:
Post a Comment